# Creating Bootable SD Card with Gateway Firmware
Warning
This documentation is out of date. For more information please check Gateway Documentation at Software part of the Handbook.
Note
If you are using Gateway Software 2.X.X please follow the Create Bootable USB Flash guide.
# Video Guide
# Requirements
To prepare your bootable card you will require:
- 8 GB or bigger size SD card
- SD card reader
- Mac or PC with fast Internet connection
# Windows/Mac/Linux Update
Download firmware image to your computer. The latest version of Gateway firmware you can find on https://fw.enapter.com (opens new window) website.
Download and install Balena Etcher application which is used to write image to SD card from https://www.balena.io/etcher/ (opens new window) website.
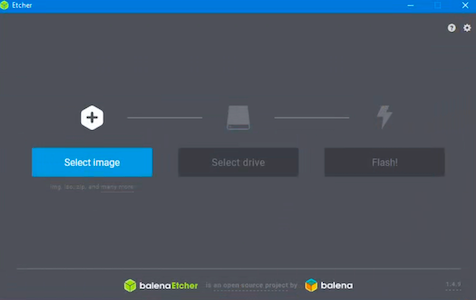
Start Etcher application
Select firmware file
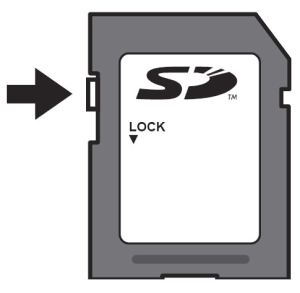
Lock switch located on the left side of the SD card. Make sure the Lock switch is slid up (unlock position). You will not be able to modify or delete the contents on the memory card if it is locked.
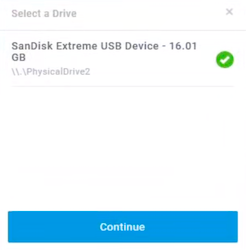
- Plug the SD card into your card reader. At this step Etcher will automatically recognize your card. If you have several SD cards connected - don't forget to check you selected the right one.
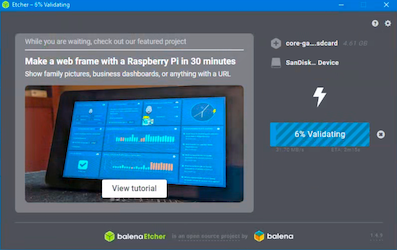
- Press
Flash!button. Please note that at this step all data on your SD card will be destroyed. The flashing process will start - the app may require the administrator rights to proceed. The process will take some time and depends on speed of your card reader, card and computer.
Was this page useful?


